If you thought I was going to write up a whole post about a car, you've found the wrong blog and you should just move along. Nothing here is going to excite you.

I have been using the Nocturne Bag from Rivet Patterns for about a year but it's just too small. It might have been easier to use if I had used a 2 way zipper on top but it wasn't suggested in the pattern.
I have outstanding hindsight and it was too late to change the zipper once I realized my mistake.
Every time I pack my bag, I think it's time to make a new one but I didn't have one in mind and I couldn't really visualize what I wanted. I can't remember now how I stumbled onto this Totepack but the more I looked at it, the more I thought I could narrow down some of the choices and really get it exactly as I wanted it. I just needed time and the right fabric.
And to get just a little more irritated with the one I was using.
When it was my turn to do another strike for Waymaker Fabrics, I knew it was time to move. When she released the new prints, the Enchanted Meadow looked perfect for what I wanted and I kept seeing it with denim.
Side note. I have a strange love affair with denim fabrics and bags. And pink. There's always some kind of pink involved if I'm making a bag for myself.
The Totepack has a lot of options and I found it hard to wrap my head around the many possibilities. I also didn't understand the reason it was called a Convertible Totepack so I did what I do and started poking around instagram and the Sewfisticated Craft Designs website. Things became much clearer as I started to see what people had done.
Right away, I started to see what I did and did not want in my version. And the convertible means that the straps/handles can be used over the shoulder, as a backpack or as a grab handle.

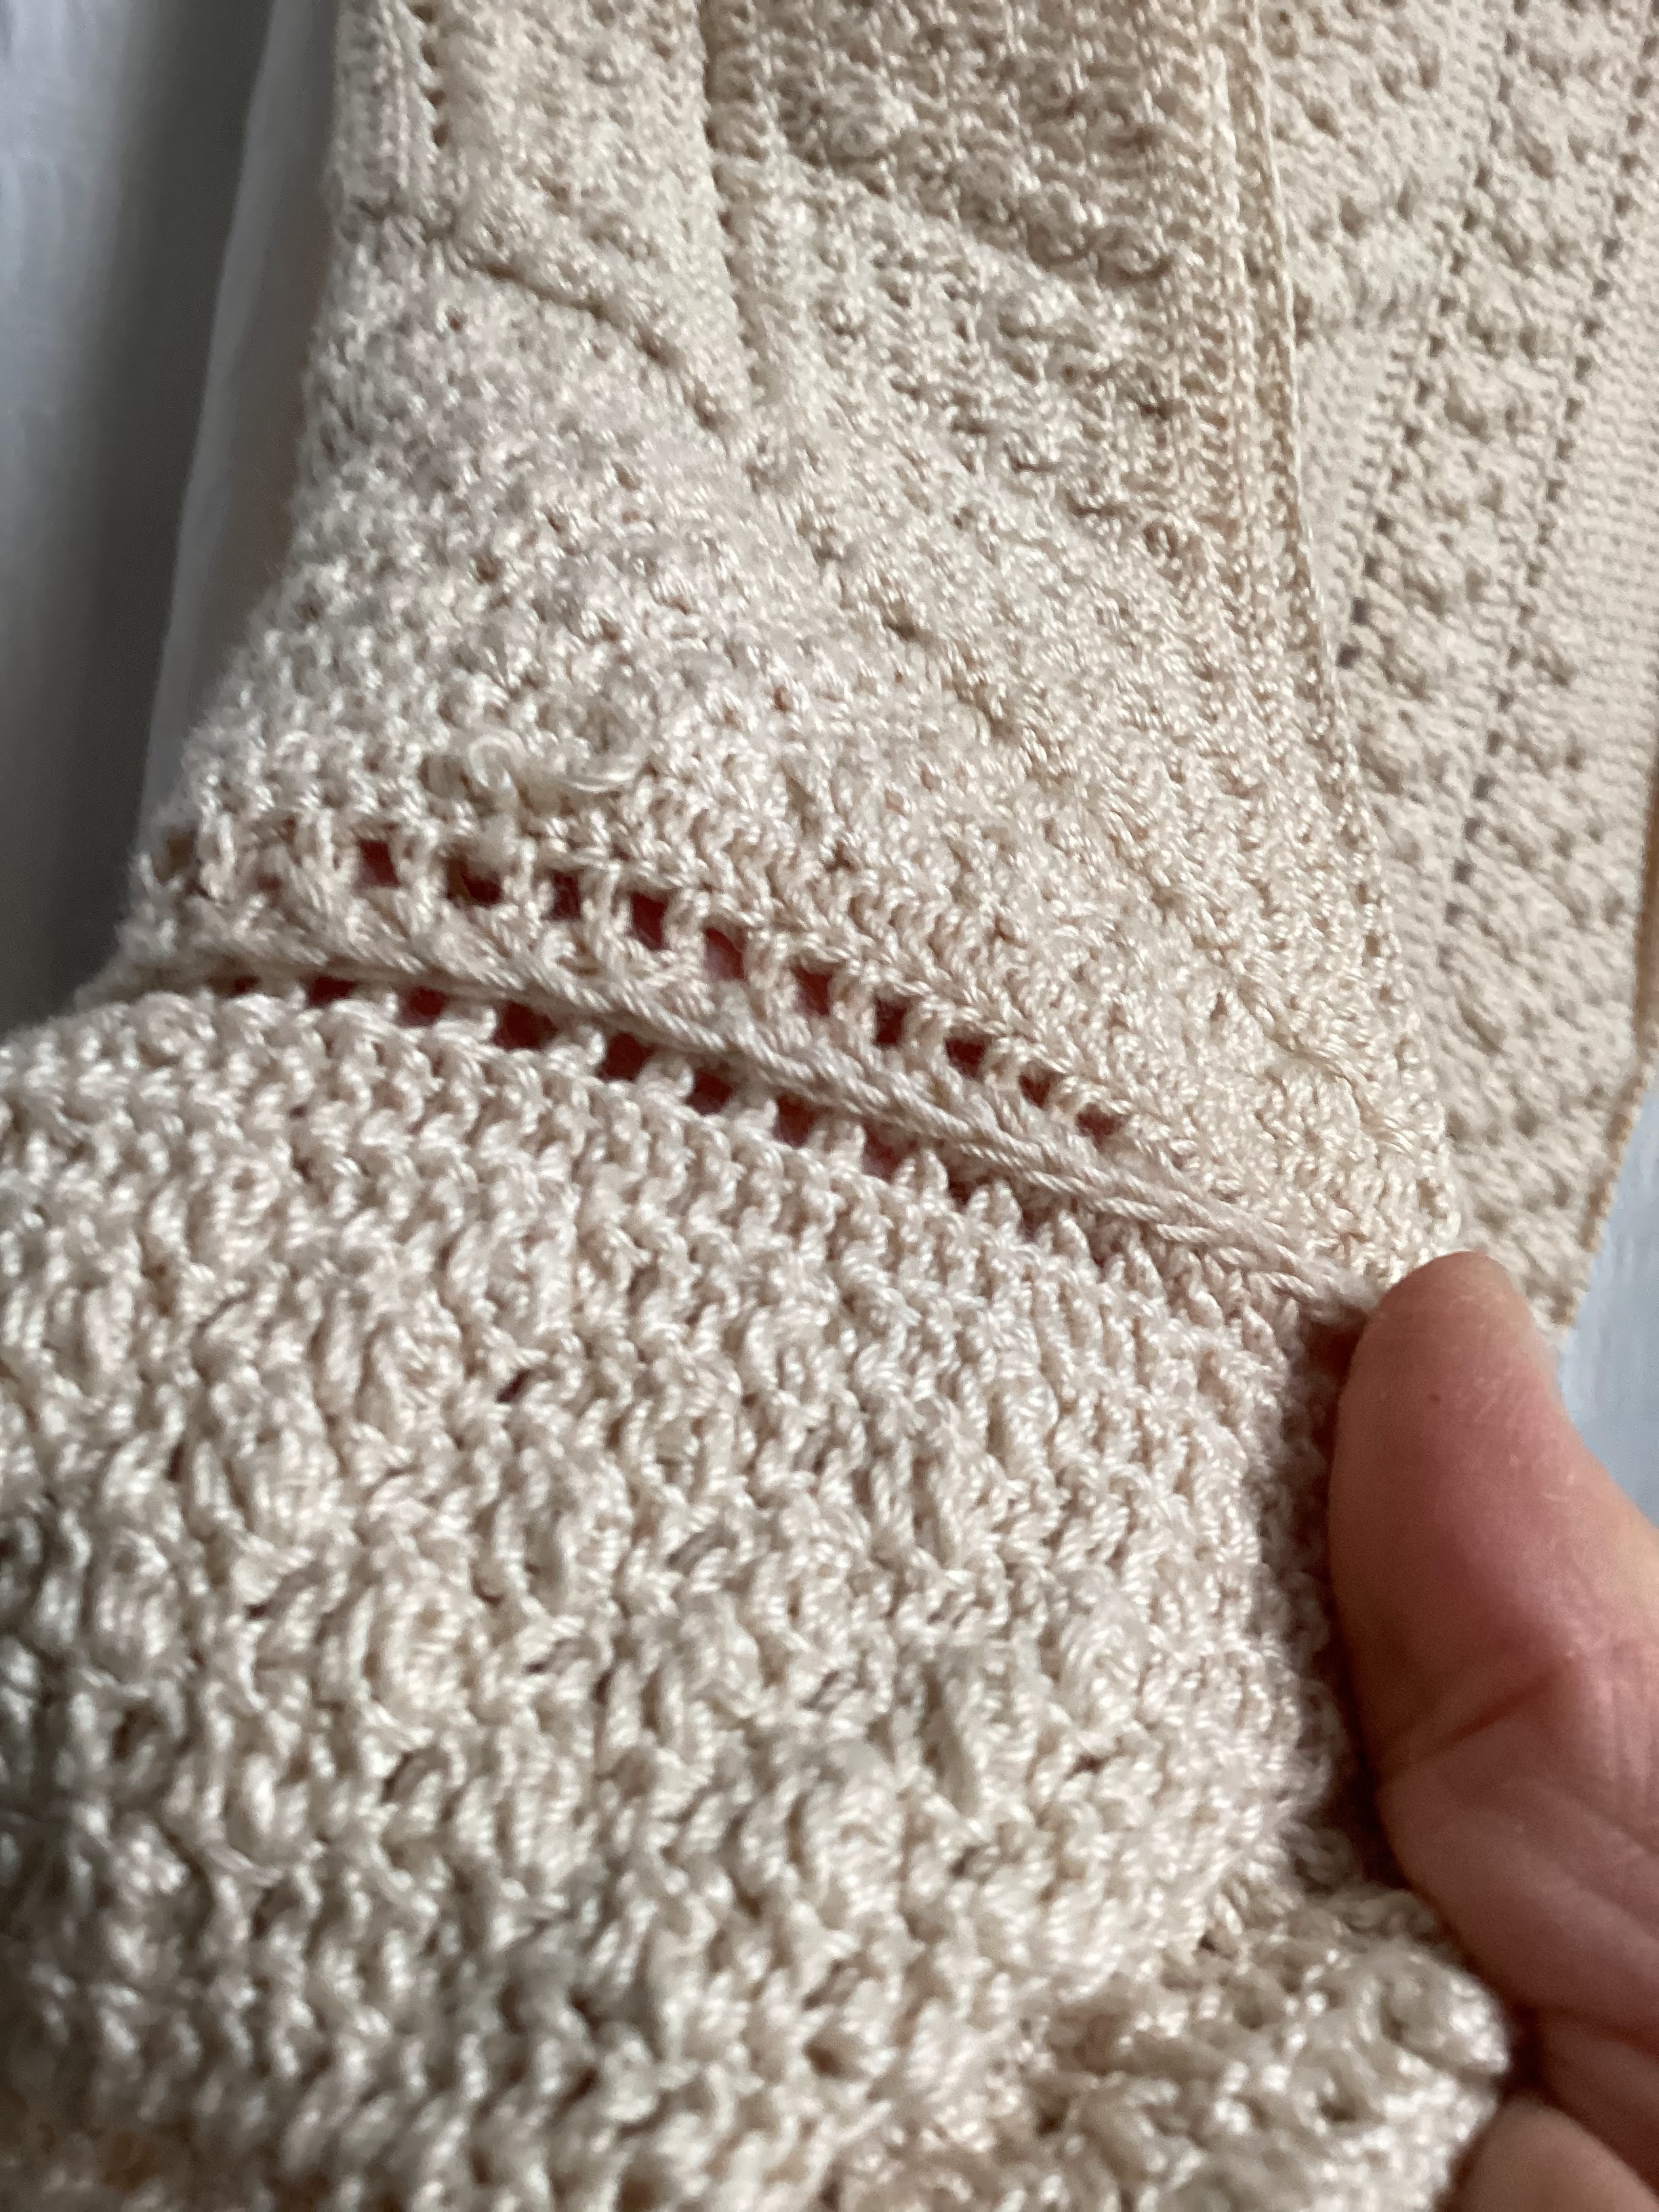
The exterior pocket that I chose was only on one side of all the examples I saw, but I thought it would be nice on both sides. It's fairly snug to the bag and I'd never be keeping government secrets in there, so I didn't need any kind of closure for it. I also wanted to be able to feature the strike fabric so these outer pockets were perfect for that.
And look how well they cover the straps! It's not like straps are top secret and they need to be hidden, but I did kind of like the way they seemed to come out of nowhere on the original pattern, so I wanted to do something similar. This way, they didn't become the major feature of the exterior of the bag.

Along with my obsession with denim for bags, I also have never seen a strap I haven't needed to "enhance". I topstitched everything in this bag with 2 strands of pink thread. When I added the straps, I couldn't stand how empty they looked. Sometimes, I use the bag fabric to run a line of fabric down the center of the straps but I didn't have enough. I finally decided just a line of topstitching down each side of the straps would be fine and I really like it!
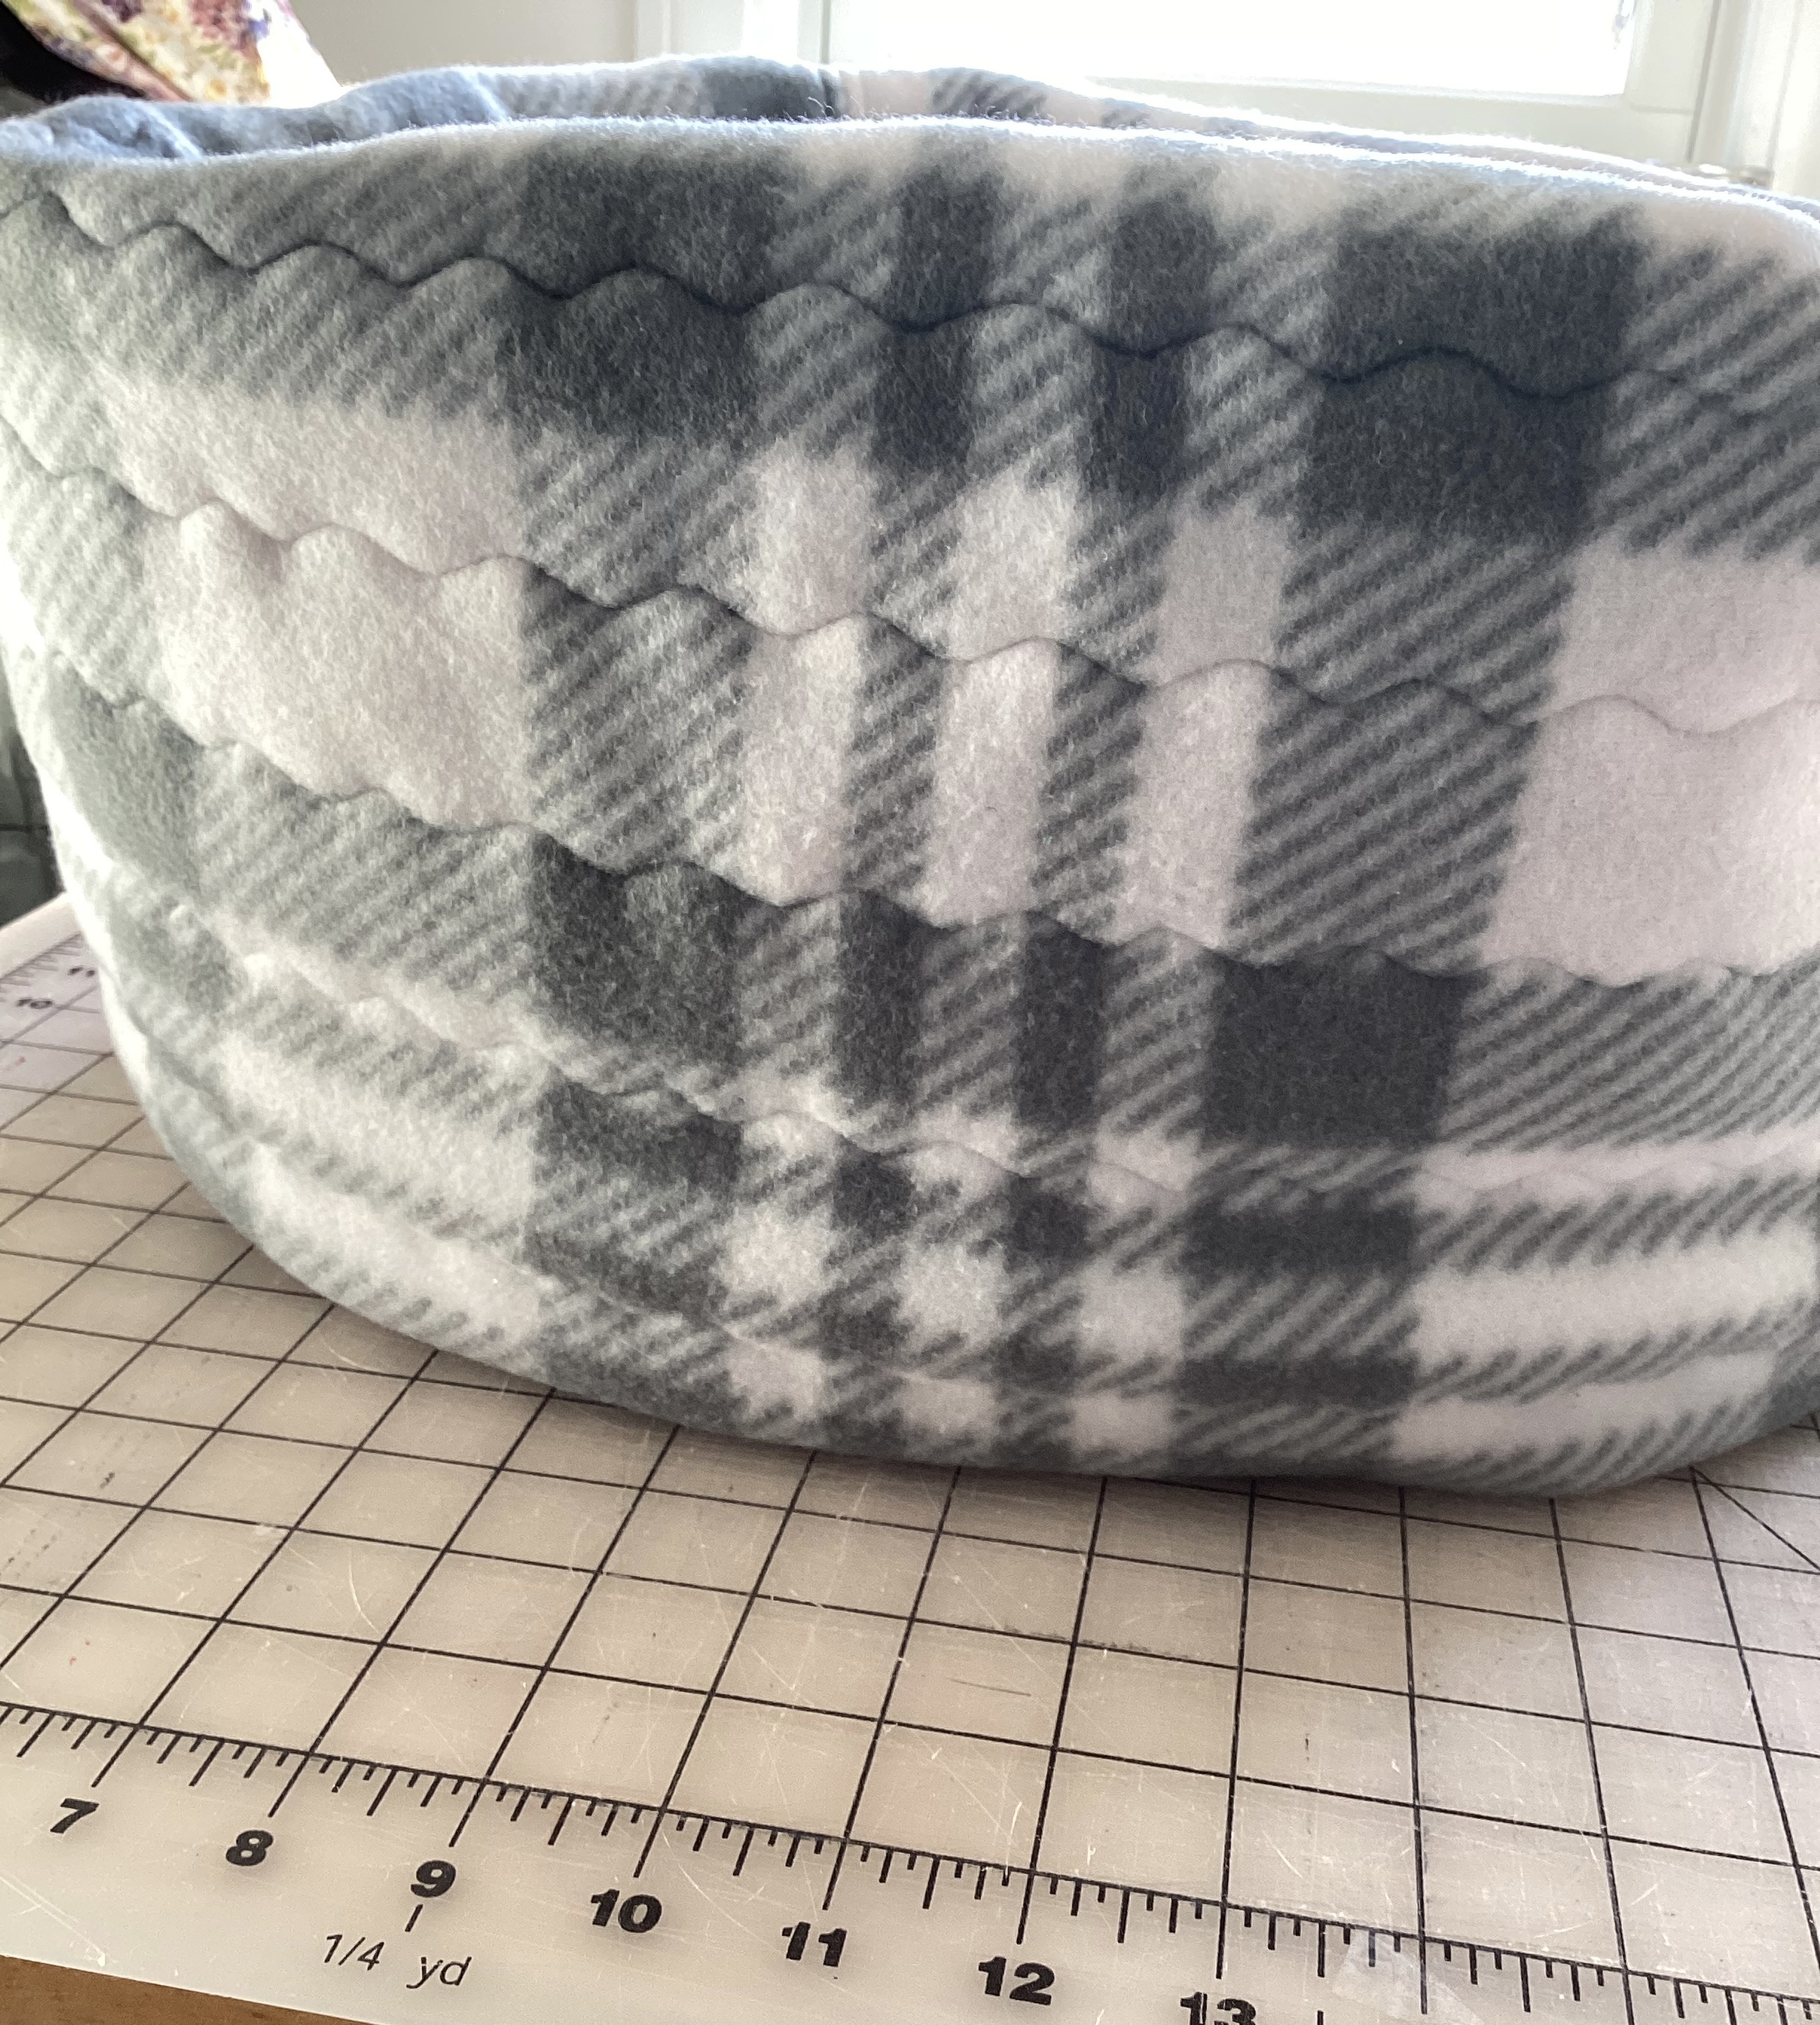
Padded bags are kind of my thing. I don't love a bag that's just one or two layers of canvas because once you put things like a laptop, ipad, book, etc, the bag starts to look flimsy. I had used some padding in a previous bag so I used the same for this one. I think it was about 1/4 thick foam. I quilted it so it wouldn't end up bunching or sinking to the bottom of the bag over time. What I didn't think about was the quilting taking up a little bit of the fabric so my pieces weren't quite the exact size they were supposed to be once I was done. In the end, it really didn't matter but you probably should pay attention to that if you do the same.

My quilting "pattern" was just lines on the diagonals in both directions. I wanted to use my walking foot but it was all too thick, so I needed to use my jeans foot. I was thrilled to discover that the metal guide that fits my walking foot also slid right into my jeans foot, so I had a guide. Otherwise, I would have had to measure and draw all of the lines and that would have been tedious. With the guide, I was able to just lay the guide on the previous line to get the right distance between the lines.
It took me a while to figure out the pattern and decide what I wanted to use and what would be of no use to me. Once I had that figured out and I had my fabrics, the quilting really took a long time and slowed everything to a crawl. I love the result but this is not a bag I'm in a hurry to make again and time soon.


If I were still teaching, I think I'd have a lot more things to carry in my bag and I'd use more pockets than I do now. What I needed from this bag is the laptop sleeve and just a couple of pockets. I measured the laptop sleeve and my own laptop but I was skeptical the entire time that it would really fit. I was so pleased when it fit and fit well! This is the first bag I've seen that has the laptop sleeve fit it lengthwise and I really like it.

The zipper gusset is pretty cool and I thought I had a firm grasp of how it worked. I use the same fabric on the inside and the outside and I knew which was which because the interior had the white edge from the margin. Somehow in using the visuals and reading what to do, I misunderstood.

One of the things I love about the sewing community is the Facebook pages for all of the different designers. I'm part of the Sewfisticated Craft Designs Facebook group, so I posted the video of my zipper issue and someone immediately replied that I needed to take the interior and exterior apart and then flip the zipper gusset over.
This required pushing the whole bag BACK through the zippered pocket. If you've never "birthed" a bag or then "unbirthed" it, only to "rebirth" it a few minutes later, you really haven't lived.

The only thing I'm surprised about, is that the zipper opening doesn't feel as big as the actual bag. This could be my choice of zipper getting in the way because the teeth are big.

I quilted that too and I even though no one really sees the bottom of a bag, I like how it ties everything together.
I like all of the options that came with this pattern. It took several readings to understand how it all worked but once I realized how it was laid out, it made a lot of sense. From what I could see in all of the pictures I found, people really like the straps being able to play different roles. There was also an option to add hardware that would let me clip another bag, like a lunch tote, to the front. If I bring my lunch anywhere, that's a whole bag of its own because of how much glassware I use for storage, so I didn't want to have that option with this bag. I didn't add any of the recommended hardware.
This fabric is available on the Waymaker Fabrics website beginning March 6, 2025.